Do you know what DOG ESSENTIALS you are missing out? Find out now!



Zack Keithy, our author, is a certified veterinarian technician (UC Blue Ash) for over 6 years (contact him here). The articles written here are based on his expertise and experience, combined with a review by our expert vet reviewers including Dr M. Tarantino. Learn more about us here.
Looking for a nutritious and delicious treat for your dog?
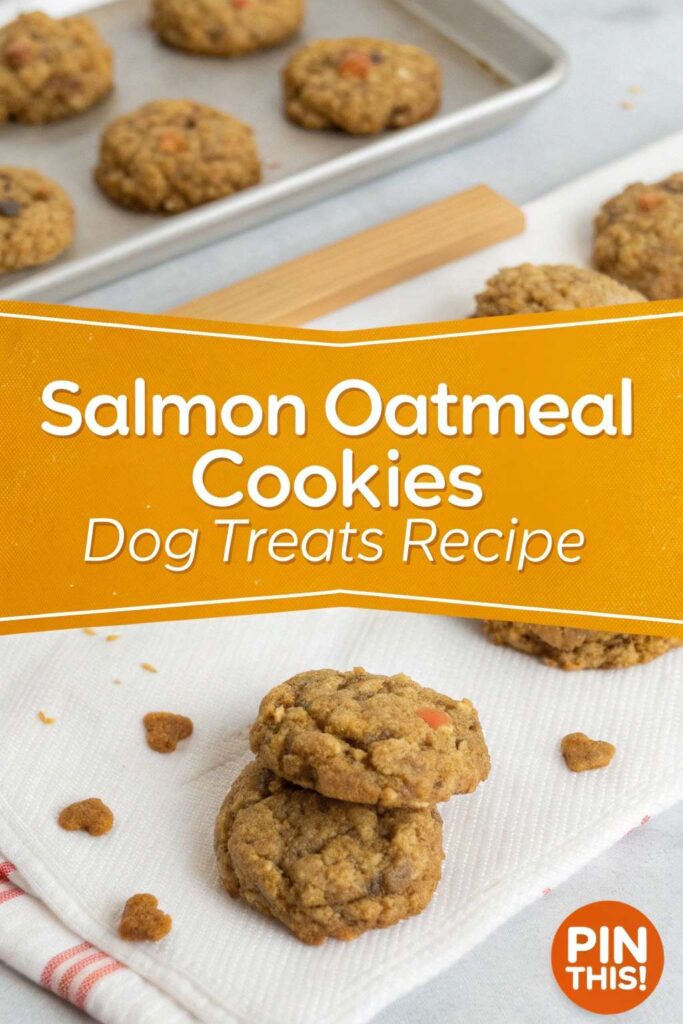
These Salmon Oatmeal Cookies are not only easy to make but also packed with healthy ingredients that support your pup’s well-being.
In this article, you’ll discover everything you need to create these delightful cookies, including a simple ingredient list, step-by-step instructions, and tips for serving.
Let’s get baking!
Medical Questions? Talk to a Veterinarian 24/7.
Connect one-on-one with a licensed vet who will answer your questions in minutes.
*Article may contain affiliate links to retailers like Amazon and Chewy. Learn more on our disclosure page.
Recipe Overview
These homemade Salmon Oatmeal Cookies take just 20 minutes to prepare and are a fantastic source of protein and fiber. Perfect for rewarding your dog or as a special snack!
- Prep Time: 20 minutes
- Cook Time: 25 minutes
- Serving Size: 1 cookie per 10 lbs of body weight
Ingredients List
- 1 can (14.75 oz) salmon in water, drained
- 1 cup rolled oats
- 1/2 cup whole wheat flour (or oat flour for a gluten-free option)
- 1 egg
- 1 tablespoon olive oil
- 1/4 cup chopped parsley (optional)
Feel free to substitute the salmon with canned tuna if your dog prefers it!
Step-by-Step Instructions
- Preheat the Oven: Preheat your oven to 350°F (175°C) and line a baking sheet with parchment paper.
- Mix the Salmon: In a large bowl, mash the drained salmon with a fork until it’s flaky.
- Add the Egg and Oil: Stir in the egg and olive oil until well combined.
- Incorporate the Dry Ingredients: Gradually add the rolled oats and whole wheat flour, mixing until a dough forms.
- Add Parsley (Optional): Fold in the chopped parsley for added flavor and health benefits.
- Shape the Cookies: Scoop tablespoon-sized portions of dough and place them on the prepared baking sheet, flattening them slightly.
- Bake: Bake for 20-25 minutes or until the cookies are golden brown.
- Cool: Allow the cookies to cool completely on a wire rack before serving.
Tip: Store any leftover dough in the fridge for up to a week or freeze for later use!
[lasso ref=”the-forever-dog-life-120-recipes-longevity-tips-and-new-science-for-better-bowls-and-healthier-homes” id=”18607″]
Feeding Guidelines
Serve one cookie for every 10 pounds of your dog’s weight. Adjust portions based on your dog’s size, breed, and activity level. Always consult your vet for precise feeding recommendations.
Nutritional Benefits of the Recipe
These Salmon Oatmeal Cookies are not just tasty; they are also loaded with health benefits:
- Salmon is rich in omega-3 fatty acids, promoting a healthy coat and skin.
- Oats provide fiber, aiding in digestion and keeping your dog feeling full.
- Parsley can help freshen breath and is a good source of vitamins.
Storage and Serving Tips
Store the cookies in an airtight container at room temperature for up to a week. For longer storage, keep them in the fridge for up to two weeks or freeze for up to three months. Serve as a treat or crumble over your dog’s food for added flavor!
Common Questions & Troubleshooting
Can I use a different type of fish?
Yes! You can substitute salmon with canned tuna or mackerel, but ensure it’s packed in water without added salt.
How do I know if my dog is allergic to any ingredient?
Introduce new ingredients gradually and watch for any signs of allergies, such as itching or digestive upset. Consult your vet if you have concerns.
What if my dog doesn’t like the cookies?
Try using different fish or adding a bit of peanut butter to the dough to make it more appealing!
📖 Don’t Miss This…
Need more ideas on what to cook for your dog? Then you must check out my library of homemade dog food recipes today!
Wrapping Up
These Salmon Oatmeal Cookies are a fantastic way to treat your dog while providing essential nutrients.
Feeling inspired? Pin this post to your Homemade Dog Treat Recipes board for easy access whenever you’re ready to bake! Don’t forget to follow for even more tips and tricks!


