Do you know what DOG ESSENTIALS you are missing out? Find out now!



Zack Keithy, our author, is a certified veterinarian technician (UC Blue Ash) for over 6 years (contact him here). The articles written here are based on his expertise and experience, combined with a review by our expert vet reviewers including Dr M. Tarantino. Learn more about us here.
Your dog is the polite one who sniffs-and-takes and then drops the store-bought biscuit on the rug as if it were a bribe that he never asked for.
You can’t blame him – those uniform brown pucks smell like cardboard and have an ingredient list that sounds like a lab, not a snack.
Good news: the upgrade is already in your kitchen. Ten minutes later your dog is crunching with joy, his tail drumming the floor, while you take the rare moment of peace knowing exactly what is in every bite.
Medical Questions? Talk to a Veterinarian 24/7.
Connect one-on-one with a licensed vet who will answer your questions in minutes.
*Article may contain affiliate links to retailers like Amazon and Chewy. Learn more on our disclosure page.
Recipe Overview
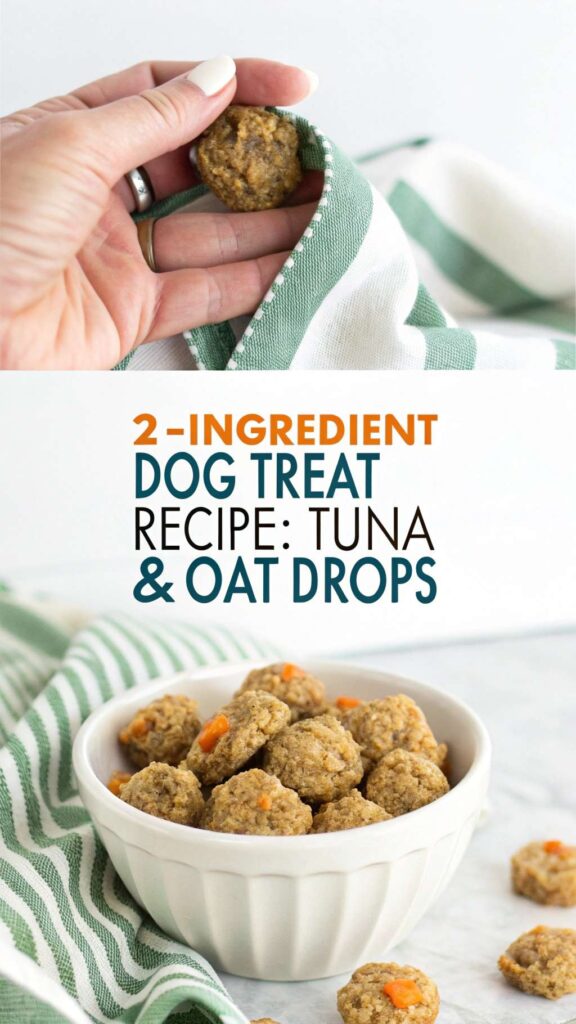
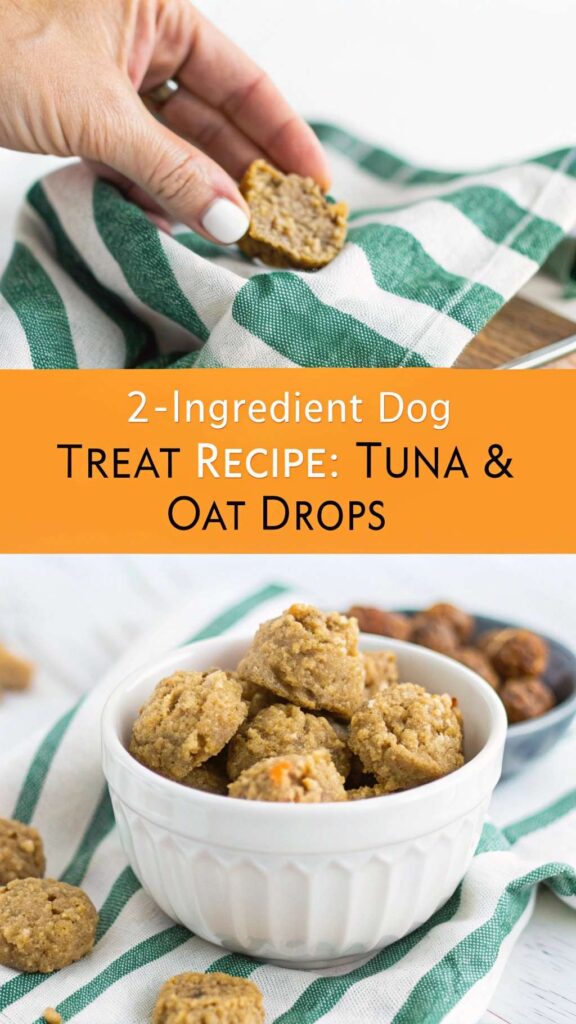
- This homemade 2-ingredient dog treat recipe is super fast to make, taking only 5 minutes to prep and 20 minutes to bake.
- It’s packed with protein and fiber, making it great for sensitive tummies.
- Yields about 4 dozen small treats, perfect for training or everyday rewards.
[lasso ref=”fave” id=”19043″]
Ingredients List
- 1 can (5 oz) tuna in water, undrained: $1.29 – $1.99
- 1 cup rolled oats (not instant): $0.50 – $0.75 (from a larger container)
Total Estimated Cost: $1.79 – $2.74
Substitutions: You can use canned salmon (in water, undrained) instead of tuna. For oats, ensure they are plain rolled oats; avoid flavored or instant varieties as they may contain added sugars or artificial ingredients.
Step-by-Step Instructions
- Preheat your oven to 350°F (175°C). Line a baking sheet with parchment paper.
- Open the can of tuna. Do not drain the water; you want all that fishy goodness!
- In a medium bowl, combine the undrained tuna with the rolled oats.
- Mix everything together really well. It should form a thick, sticky mixture.
- Use a small spoon or your fingers to drop tiny dollops (about half a teaspoon) of the mixture onto the prepared baking sheet.
- Bake for 15-20 minutes, or until the treats are golden brown and firm to the touch.
- Let them cool completely on a wire rack before serving.
Look, prepping and cooking for your dog is great, but sometimes you might be too tired or maybe a tad lazy, or maybe you just want to give yourself a well deserved break.

In such times, you want something reliable and nutritious for your dog, and that’s where Ollie comes in. It’s my favorite dog food subscription ever.
Fresh human grade dog food sent to your doorstep, and there’s no lock in.
Give it a shot, will ya?
Feeding Guidelines
- These treats are best used in moderation as part of a balanced diet.
- Small dogs (under 20 lbs): 2-3 treats per day.
- Medium dogs (20-50 lbs): 4-6 treats per day.
- Large dogs (over 50 lbs): 6-8 treats per day.
- Puppies and highly active dogs might get a few more, while senior or less active dogs should have fewer.
- Always adjust treat portions based on your dog’s overall caloric intake and activity level.
- If your dog has specific health concerns or allergies, chat with your vet for personalized advice on treats and diet.
[lasso ref=”the-forever-dog-life-120-recipes-longevity-tips-and-new-science-for-better-bowls-and-healthier-homes” id=”18607″]
Nutritional Benefits of the Recipe
- Tuna provides high-quality protein, which is vital for muscle development and repair.
- It’s also a good source of Omega-3 fatty acids, promoting healthy skin and a shiny coat.
- Oats are a fantastic source of soluble fiber, which helps with digestion and maintains stable blood sugar levels.
- Oats are also rich in B vitamins and minerals like iron and manganese, supporting overall energy and health.
- This recipe is naturally grain-free if you use certified gluten-free oats, making it good for dogs with wheat sensitivities.

Storage and Serving Tips
- Store these treats in an airtight container in the refrigerator for up to 5-7 days.
- For longer storage, you can freeze them for up to 2-3 months. Just thaw them in the fridge overnight before serving.
- Serve them at room temperature.
- These treats are a great standalone reward, or you can crumble a few over their regular kibble to add extra flavor.
Common Questions & Troubleshooting
My dog is allergic to fish. What can I use instead of tuna?
If your dog can’t have fish, you can try using cooked, shredded plain chicken or turkey (without any seasonings or skin) mixed with plain rolled oats. Make sure the meat is fully cooked and cooled before mixing.
Can I use instant oats for this recipe?
It’s best to stick with rolled oats. Instant oats are more processed and might contain added sugars or artificial flavors that aren’t good for dogs. Rolled oats give the treats a better texture too.
How can I make these treats crunchy?
For crunchier treats, bake them for a little longer, perhaps 25-30 minutes, or until they feel very firm and dry. Let them cool completely; they will crisp up more as they cool.
Do I need to add a supplement to this recipe?
This recipe is for treats, not a complete meal. For daily meals, it’s important to ensure your dog gets a balanced diet with all essential vitamins and minerals. If you’re making homemade dog food regularly, always consult your vet about a suitable canine vitamin and mineral supplement to ensure nutritional completeness.
📖 Don’t Miss This…
Need more ideas on what to cook for your dog? Then you must check out my library of homemade dog food recipes today!
Wrapping Up
Making these tuna and oat drops is a simple, loving way to show your dog you care. They’re healthy, easy, and your pup will absolutely adore them. Give this recipe a try and watch that tail wag!
Feeling inspired? Pin this recipe to your Homemade Dog Treat board for easy access and follow us for more pet-friendly tips!